By automating the data flow, you can easily release your orders for picking, print labels and send packages. Whether you are going to start a brand new webshop or you are going to switch from another freight module to Logisnap, we will help you get started.
Get started – set up with a brand new webshop.
Cool that you are starting a new webshop – and great that you have chosen LogiSnap for your trip! We now take you step by step through the integration to WooCommerce, so that you are good to go and ready to send packages.
1. Install plugin.
1. Login to WooCommerce
2. Select the Plugins menu item
3. Tap Add New
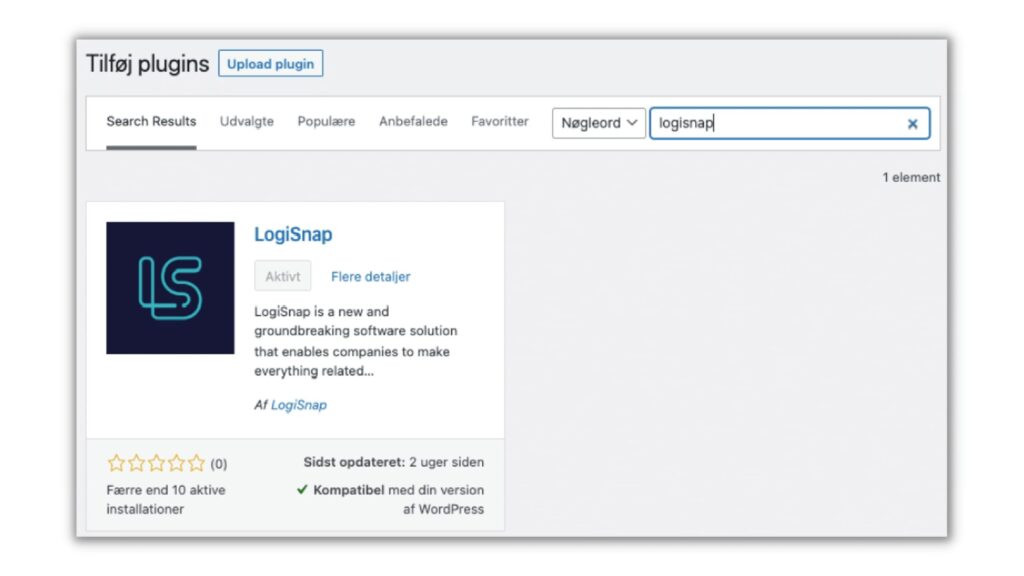
4. Search LogiSnap
5. Tap on Install Now
6. Tap on Enable
2. Logisnap plugin set up.
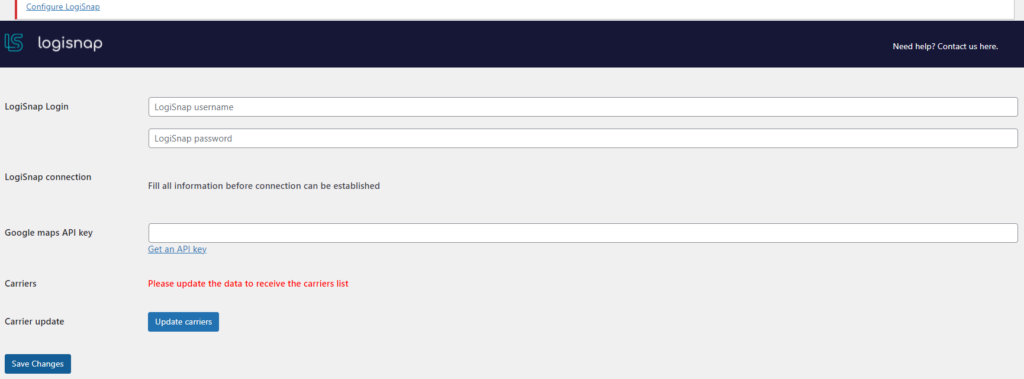
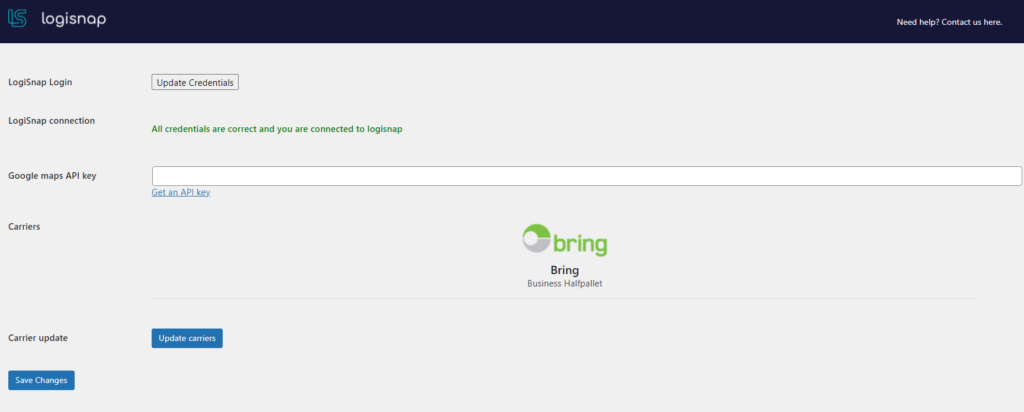
1. Select the LogiSnap menu item 2. Enter your LogiSnap login information 3. Click on Save Changes 4. Click on Update Carriers (also make sure you have updated your carriers on LogiSnap’s admin site)
3. Continued plugin set up.
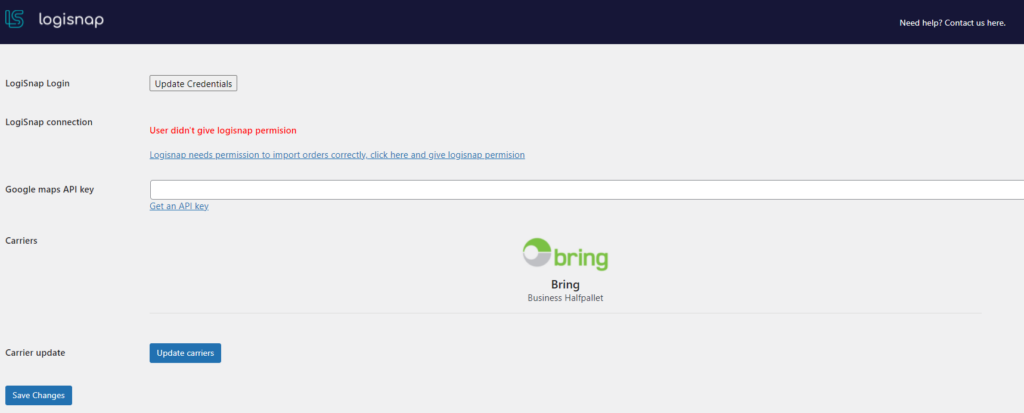
1. To give LogiSnap access to import orders, click on the link ”Logisnap needs permission to import orders correctly. Click here and give Logisnap permission”
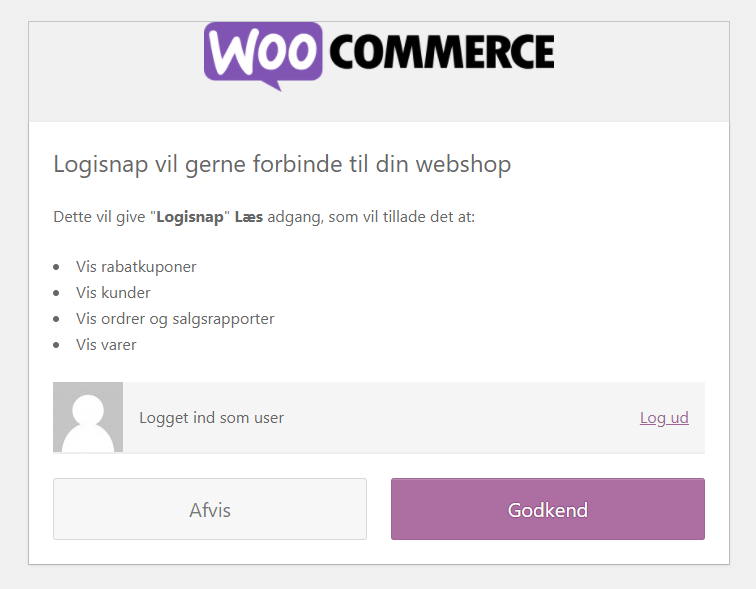
2. You will then be sent to a new window
3. Click on Approve
4. After this, you land on our website, then go back to your Woocommerce webshop and press Save Changes
5. The page will refresh and you will now have a green sentence that says ”All credentials are correct and you are connected to Logisnap”
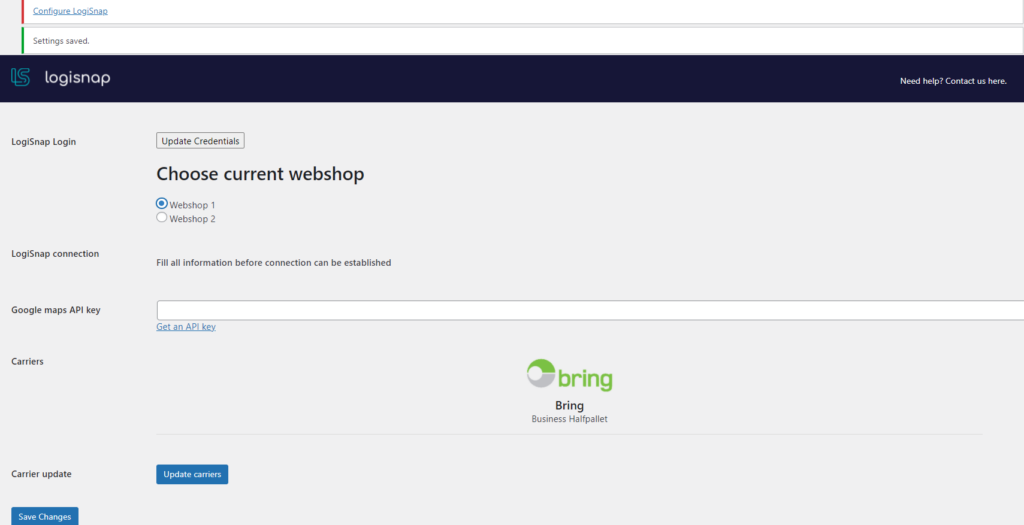
4.For you with more than one webshop/user access.
1. If you have several users/webshops, you choose the one you want to use at the moment
2. Next, click on Save Changes
3. The focus will now be on the selected webshop/user
In order to complete the integration between your WooCommerce webshop and your LogiSnap account, it is important that you set up your shipping methods so that your customers have the option of choosing delivery in the checkout flow of your shop.
For you who have already installed a freight module and need to switch to Logisnap.
We are delighted that you have chosen LogiSnap as your new freight module! We now help you with the integration of your webshop – it is subordinate whether you want to run all your freight with LogiSnap in the future or whether you combine it with other freight modules. That is not a problem!
1. Let's get
started.
To start with, you must go through the above steps with associated substeps in the guide for new webshops, as described above. You must have control over:
* Install plugin
* LogiSnap plugin setup
* Do you have several users/webshops
* WooCommerce shipping
Now your data flow to LogiSnap runs completely automatically, and the delivery options you have chosen through LogiSnap are now visible in the basket of your customers on the webshop. If you want to run your LogiSnap freight agreements in parallel with your current freight module, you are now done with the integration.
If, on the other hand, you only want to drive with LogiSnap and therefore need to remove your current freight module – keep reading!
2. Deactivate former freight module.
1. Select the WooCommerce → Settings menu item
2. Select the Shipping tab
3. Delete the zones you no longer want to use
4. Select the Plugins menu item
5. Click on Deactivate on your previous freight module plugin
SO! Now you are all done – ready for your new journey with LogiSnap and we are so looking forward to the trip!